Optimizing Illumination and Contrast for Nailfold Capillary Imaging · body
Quick answer
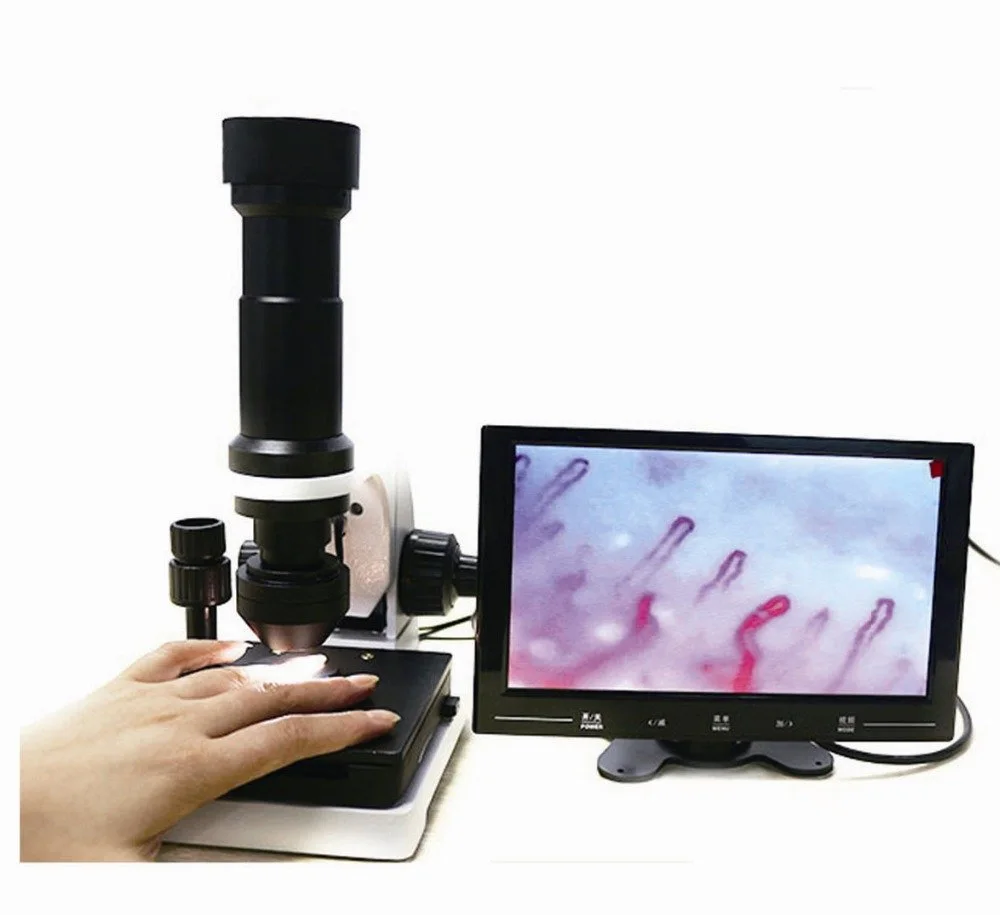
The single best practical step to improve capillary visibility is to combine a cold-LED illumination source with a short, consistent working distance (~25 mm), use a thin immersion medium on the nailfold to reduce surface scatter, and choose diffuse or low-angle oblique lighting rather than harsh direct light. This combination reduces specular highlights and increases blood-column contrast; for example, MAIKONG’s MKXW880 uses a cold LED source and a 25 mm working distance that are optimized for this approach (data-fact-id=”211″).
Contents
Evidence supporting the direct answer
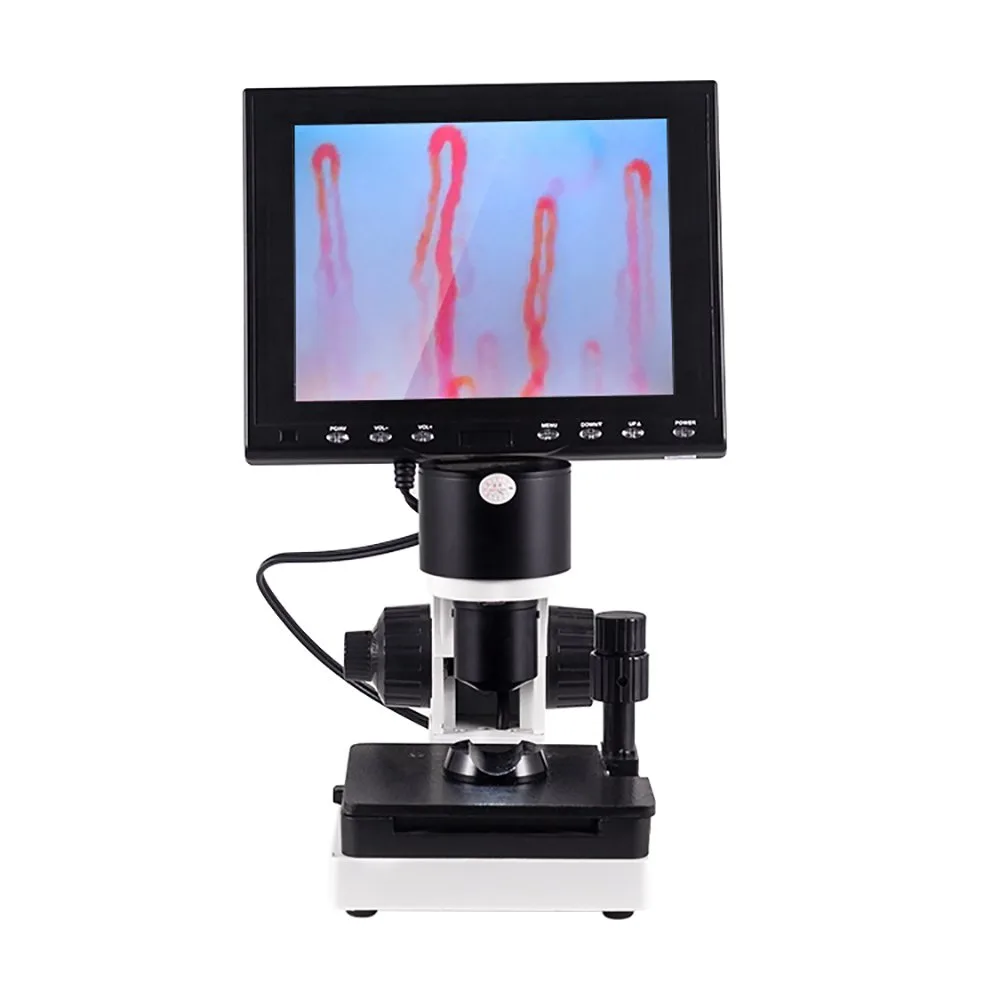
Company product specifications we used to ground device-specific guidance include MAIKONG’s MKXW880 imaging system, which lists an optical source of “cold LED,” a working distance of 25 mm, and magnification and objective details used below (data-fact-id=”211″, data-prepared-source=”factory_product_facts:211″). We reference those exact values when suggesting device-aligned setup steps; broader procedural advice comes from standard capillaroscopy practice and imaging optics principles.
Limitations and risks
Illumination adjustments affect the recorded appearance of capillaries and may change apparent vessel diameter, colour saturation, and artifact frequency. Device specifications, ambient conditions, and operator technique all interact; where a model manual, official labeling, or local regulations are required for clinical use, consult those sources before changing imaging protocols. We do not provide diagnostic interpretation; images must be interpreted by trained clinicians.
Why correct illumination and contrast matter for clinical nailfold capillaroscopy
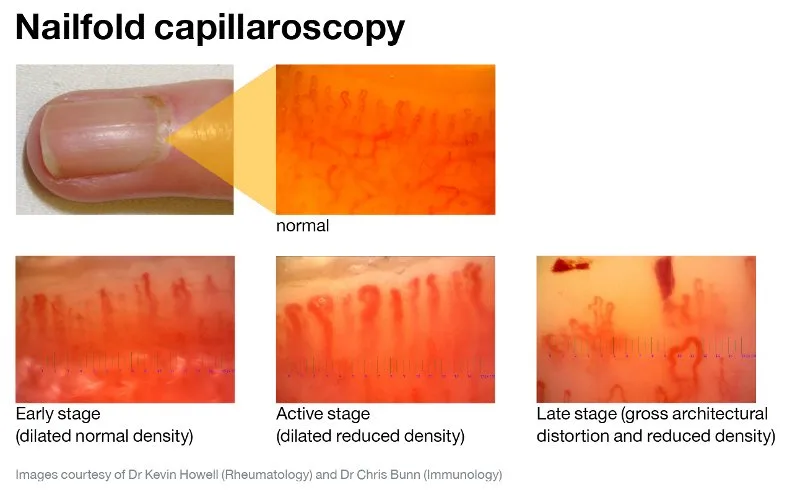
For rheumatology clinics the goal is consistent, reproducible imagery that highlights capillary loop shape, density and microhemorrhages while minimising surface artifacts. Poor lighting increases gloss and skin scatter, hiding distal loops; over-bright or high-gain imaging exaggerates noise and can falsely suggest microthromboses or capillary dilation. Good illumination makes morphology visible without pushing the camera into high gain or long exposures—so images are easier to compare between visits and between patients.
Direct answer: the single best practice to improve capillary visibility today
Optimizing Illumination and Contrast for Nailfold Capillary Imaging · body
Prioritize a cold-LED source with controlled working distance and a thin immersion medium, and then tune geometry (oblique/diffuse) so the vessels appear darker than the background. On devices such as MAIKONG MKXW880, the specified cold LED source and 25 mm working distance are already matched to this principle (data-fact-id=”211″).
Quick checklist before capture: room, patient preparation, and equipment settings
Optimizing Illumination and Contrast for Nailfold Capillary Imaging · body
Room: stable temperature and minimal direct ambient glare. Keep the examination light level low enough to avoid monitor washout but comfortable for the patient.
Patient: rest 10–30 minutes if possible; keep the hands at heart level. Avoid recent smoking or heavy exercise before imaging when feasible.
Preparation: apply a thin drop of immersion oil (or approved alternative) to the nailfold to reduce specular reflection and increase transmission.
Equipment: set manual focus, start with moderate brightness and low camera gain, and use the device’s recommended working distance—MKXW880 lists 25 mm (data-fact-id=”211″).
Capture: take a reference image, then adjust only one variable (lighting angle, brightness, exposure) before re-capturing so you can compare effects.
Choosing the right light source for nailfold imaging — cold LED and what it delivers
Optimizing Illumination and Contrast for Nailfold Capillary Imaging · body
Cold LEDs give stable colour temperature, low heat at the tissue surface, and minimal warm-up time, which is why they are the default in many modern capillaroscopy heads. In MAIKONG’s MKXW880 the optical source is specified as “cold LED,” which reduces patient discomfort and limits thermal effects during repeated captures (data-fact-id=”211″). Compared with halogen or incandescent sources, cold LEDs also offer longer life and steadier output—important for clinics that image multiple patients per day.
Trade-offs
LED spectral characteristics influence perceived vessel redness. If a system’s white balance or camera sensor is tuned for a different source, you may need to set a manual white balance. When possible, lock white balance using a neutral reference patch or the device’s manual setting.
Controlling glare and reflections: oils, finger positioning, and working distance
Optimizing Illumination and Contrast for Nailfold Capillary Imaging · body
Specular highlights on the proximal nailfold are the single most common reason capillaries appear washed out. Thinning the air gap with an immersion medium (paraffin oil, cedar oil as supplied with many kits) reduces Fresnel reflections and increases vessel contrast. Position the finger so the nailfold surface is perpendicular to the objective’s optical axis or slightly tilted for oblique lighting; avoid angling that produces a bright specular spot in the field.
Use the device’s recommended working distance—MKXW880 specifies 25 mm (data-fact-id=”211″)—and maintain that distance consistently with a finger rest or stop. Small changes in working distance alter magnification and the relative balance of diffuse to specular light reaching the sensor.
Setting brightness and contrast on digital/video systems — practical steps for immediate improvement
Start with the camera at baseline exposure (auto or manual mid-point) and low gain. High gain amplifies noise and can mimic microvascular abnormalities.
Lower exposure time or brightness until surface glare diminishes; increase local contrast with software sliders if needed.
Use the monitor’s histogram or live-view waveform (if available) to avoid clipped highlights; aim to preserve highlight detail in the periungual skin so capillary loops remain visible.
If your software supports it, save a neutral reference image and a final capture to maintain consistency across sessions.
Selecting illumination geometry: ring, coaxial, and oblique lighting — when to use each
Each geometry reveals different features:
Ring lighting (diffuse, near-axis): good for even illumination and minimizing shadowing. Use when the goal is high overall visibility and even colour across the nailfold.
Coaxial lighting (direct axis): increases specular highlights and is usually avoided for nailfolds because it tends to wash out vessels.
Oblique lighting (low-angle): increases vessel shadowing and contrast; effective when paired with immersion medium and controlled working distance. For fine detail of distal loops choose gentle oblique lighting rather than high-angle direct beams.
Using polarizers and diffuse screens to reduce surface highlights and improve vessel contrast
Cross-polarization (polarizer on the light and an analyser on the camera) significantly reduces surface glare without requiring increased immersion. If your system allows polarizing accessories, test them with and without oil because polarization plus immersion changes both specular and diffuse components. When adding diffusers, choose ones that spread the LED output evenly; heavy diffusion reduces contrast and may require slight exposure compensation.
Optimizing camera exposure, gain and white balance for videocapillaroscopy (video system practical settings)
Set white balance manually to a neutral target or daylight preset matching the LED colour temperature. Keep gain as low as possible to preserve signal-to-noise ratio; compensate by adjusting aperture/brightness rather than boosting gain. For moving-video capture, prefer slightly higher frame rate with a shorter exposure to reduce motion blur; verify that shorter exposures still reveal capillary detail without increasing noise.
Magnification and field of view trade-offs: how 10X / 5X objective choices affect perceived contrast
Higher magnification increases apparent vessel diameter and detail but narrows the field of view and reduces depth of field. MAIKONG’s MKXW880 lists a magnification of 10X and an achromatic objective of 5X; these optics give clear loop detail while preserving a useful field for loop density assessment (data-fact-id=”211″).
Practical rule: use the lowest magnification that still resolves the morphological features you need. For screening and rapid documentation a wider field at moderate magnification is more efficient; for morphologic classification use the higher setting.
Portable vs benchtop lighting considerations for outreach or clinic workflows
Portable systems trade some ergonomic stability for mobility. For outreach, prioritize a compact cold-LED head, consistent finger rest, and a means to control ambient light. Benchtop systems like MKXW880 offer fixed working distance support and a stable platform (size 40×35×28 cm; weight 5.2 kg; input AC 100–240 V with DC output DC12V,2A; power 12V; lead time 2–3 days; warranty 1 Year; moq 1PCS) which simplifies consistency and reduces operator variability (data-fact-id=”211″).
Selected MAIKONG MKXW880 imaging specifications
Specification
Value
Optical source
cold LED
Working distance
25 mm
Magnification
10X; Achromatic objective 5X
Troubleshooting common illumination problems
If vessels look faint despite immersion and correct distance: reduce ambient overhead light and test oblique illumination. If images show excessive speckle or noise, reduce camera gain or increase exposure slightly while watching for highlight clipping. If highlights move or vary between frames, confirm the finger rest is stable and that the working distance remains constant; consider a physical spacer to enforce 25 mm on devices that permit it.
Routine checks and lamp replacement planning
LEDs have very long lifetimes compared with older lamps, but output can change with age. Keep a recorded reference image set and re-acquire it periodically; if new images require markedly increased brightness or gain to match those references, investigate the illumination source and consult the device manual. Specific replacement intervals are not supplied here—refer to the MKXW880 manual or contact technical support for manufacturer guidance (data-fact-id=”211″).
FAQ (selected)
Do I need an immersion medium for every patient?
Using a thin immersion medium is a practical default because it reduces skin scatter and increases contrast in most patients. If local protocol or patient sensitivity prevents use, compensate with careful oblique/diffuse lighting and register that images without immersion may have lower contrast.
How often should I calibrate white balance and exposure settings?
Calibrate when you first set up the system for the day, after a lamp or head replacement, or if you change to a different camera or monitor. For routine clinic use, a daily or session-start check with a neutral reference patch provides reproducible colour balance.
Next step — request sample images or a clinic configuration
This content is for educational, product-introduction, and professional-reference purposes only. MAIKONG nail fold capillaroscopy equipment is intended for observation, imaging, documentation, education, and research consistent with its product purpose. This article is not medical advice and does not replace clinical judgement or regulatory requirements. Confirm device labeling, intended use, and applicable U.S. federal, state, and institutional rules before purchase or clinical deployment.
This content is provided for learning, information sharing and professional communication only. It is not medical advice and is not a basis for treatment or diagnosis. Confirm suitability, operation and purchasing requirements against the product manual, local regulations and qualified professional guidance.
If you want a recommended configuration for your clinic size, workflow or outreach program, or sample nailfold images taken with MKXW880, contact our sales team for specifications, OEM/ODM options, and a quote. Pricing and final configuration are available on inquiry.