Selecting Lenses and Magnifiers for Clear Nailfold Imaging · body
Quick answer
For routine screening and reproducible documentation in a rheumatology clinic, prioritize an achromatic objective in the low single‑digit X range (commonly a 5X objective on comparable provider systems), a system magnification that produces a clear image of the distal nailfold without excessive cropping, and a working distance that lets the patient rest comfortably (20–30 mm is typical). Cold LED illumination, a monocular drawtube or camera port sized for digital capture, and manual coarse/fine focus are acceptable when workflow favors straightforward capture and easy cleaning. Using these criteria will balance image clarity, patient comfort and reproducibility; we explain practical trade-offs and how those choices map to the MAIKONG MKXW880 parameters later in this article.
Contents
Direct answer: which lens and magnifier choices give clear nailfold images for a rheumatology clinic
Answer-first: choose an achromatic objective around 5X combined with system optics that provide a working distance of ~25 mm and cold LED illumination. That combination gives enough field of view to include a useful length of the distal nailfold, reduces chromatic blur at the capillary edges, and keeps the device far enough from the finger to allow a finger rest and stable positioning. If you need finer capillary detail for documentation, increase camera sensor resolution or optical system magnification rather than crowding the finger with a very short working distance lens.
What problem you must solve first: clarity, working distance, patient comfort and reproducibility
Before you compare lenses, define the clinic problem you want to solve. Is the priority fast screening of many patients, or repeatable high‑resolution documentation for follow-up and multidisciplinary review? These goals push design choices in opposite directions:
Documentation and teaching: smaller field, higher effective magnification or higher sensor resolution, stable finger mount and a consistent imaging protocol.
In practice we recommend standardizing on one optical configuration for your clinic so serial images are comparable. That reduces variability from capture geometry more than marginal improvements in native optical resolution.
Key optical terms made simple
Knowing the optics language helps pick compatible parts:
Magnification — the product of objective and eyepiece/camera optics; higher magnification narrows field of view and makes positioning harder.
Numerical aperture (NA) — controls how much light and detail the lens can resolve; higher NA improves resolution but generally reduces depth of field.
Working distance — the physical gap between the objective tip and the sample; longer working distance is more comfortable and easier to stabilize fingers.
Field of view (FOV) — the visible width of the nailfold in one frame; you want enough FOV to capture the proximal/distal arc of capillaries you use for scoring.
Resolution — set by the lens+sensor combination; beyond a point, a better camera sensor delivers more usable gains than pushing magnification further.
Practical magnification ranges for nailfold imaging and when to use each (quick reference)
Selecting Lenses and Magnifiers for Clear Nailfold Imaging · body
Use optics to match clinical needs rather than chasing a single “best” number:
Low effective magnification (overview): use for rapid screening and locating capillary rows—wider FOV, easier to align.
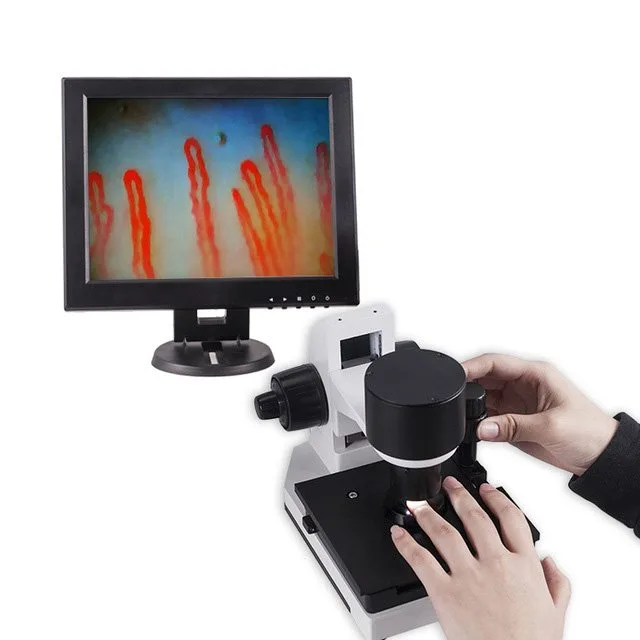
Moderate magnification (documentation): use when you need to record capillary shape, density and microhemorrhages with reproducible framing.
High magnification (research/measurement): use selectively when measuring capillary dimensions; ensure a stable mount, immersion coupling when required, and consistent calibration.
Because capture geometry and camera pixel size matter, plan your system around a single objective and camera pairing that meets both screening and documentation by trading field for resolution in post‑capture (cropping) when needed.
How working distance shapes patient setup, hand positioning and image stability
Selecting Lenses and Magnifiers for Clear Nailfold Imaging · body
Working distance determines how easily you can stabilize a finger and avoid pressure artifacts. Short working distances (<10 mm) force the finger into tight contact, risk blanching and make repeatable positioning difficult. Longer working distances (20–30 mm) let you use a low-profile finger rest and a comfortable posture for patients with scleroderma or contractures. For clinic workflows that include handheld exams and mobile screening, a working distance near 25 mm is a pragmatic balance.
Objective types and why a 5X achromatic objective is commonly used for nailfold imaging
Selecting Lenses and Magnifiers for Clear Nailfold Imaging · body
Achromatic objectives correct for two colors of chromatic aberration and deliver sharper capillary edges across the visible band compared with simple lenses. A 5X achromatic objective provides a sufficiently wide field to include several capillary loops while still yielding detail when combined with appropriate camera optics. That is why many comparable provider systems adopt a 5X objective as the baseline for routine clinical use.
Illumination matters: cold LED lighting and reducing glare or skin scatter
Selecting Lenses and Magnifiers for Clear Nailfold Imaging · body
Cold LED illumination is the practical choice for clinic use: it offers stable color temperature, low heat at the tissue interface, and a long service life. To reduce surface glare and skin scatter:
Use immersion oil or a low‑index coupling fluid sparingly to improve light transmission through the cuticle—this reduces reflection and reveals deeper capillary detail.
Angle the light or add a polarizing filter if reflections obscure the capillary loops.
Keep LED intensity adjustable so you can reduce overexposure on pale skin or increase it for darker skin types without changing geometry.
Manual focus vs. fine/coarse focus: workflow trade-offs in clinic sessions
Selecting Lenses and Magnifiers for Clear Nailfold Imaging · body
Manual coarse/fine focus mechanisms are common and reliable in comparable provider devices. Coarse focus gets you into the image quickly; fine focus refines the capillary loop detail. For high‑throughput clinics we recommend a large, well‑damped coarse wheel and a smooth, precise fine adjustment so technicians can reproduce focus with minimal trial‑and‑error.
Camera and drawtube considerations for lens pairing (monocular video systems and digital capture)
When pairing optics to a camera:
Match the camera sensor size and pixel pitch to the objective to avoid undersampling or wasted resolution.
Monocular drawtubes with camera ports simplify digital capture; ensure the mechanical adapter keeps the optical parfocal distance stable.
If you expect to crop for higher detail, prefer a higher‑resolution sensor over pushing magnification optically to very short working distances.
Using MAIKONG MKXW880 parameters as a real example: what those specs mean for image clarity and workflow
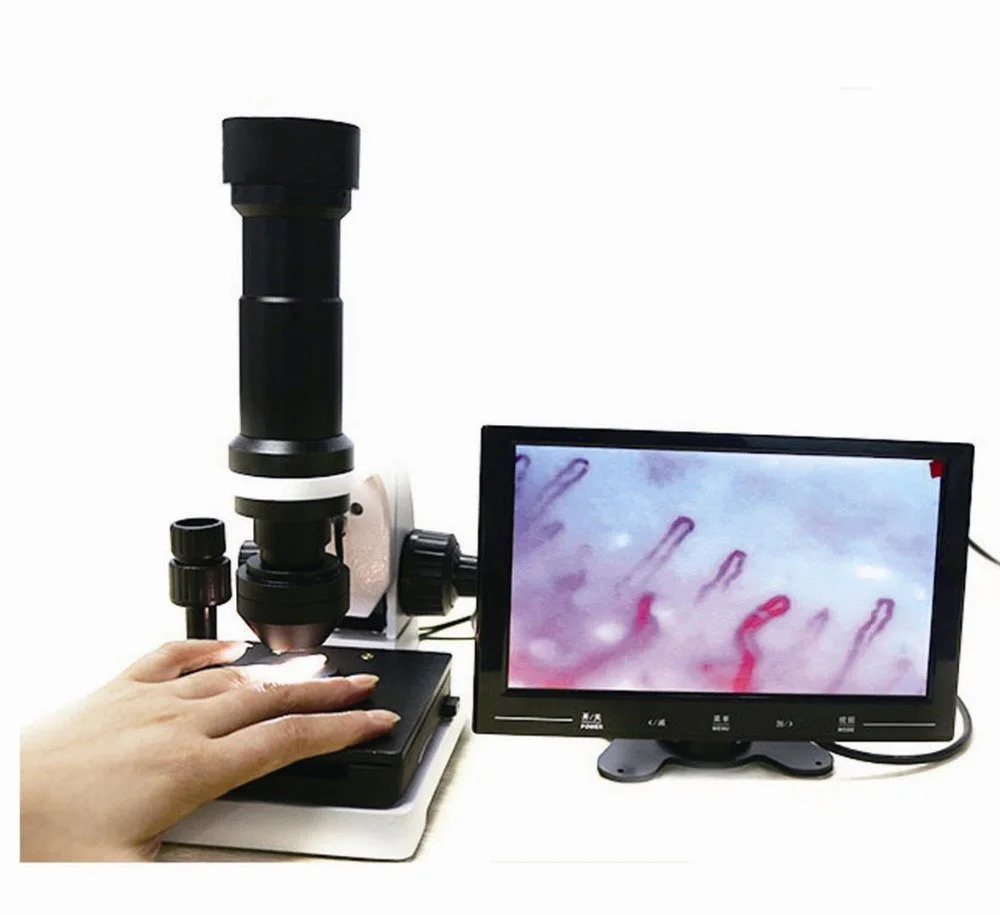
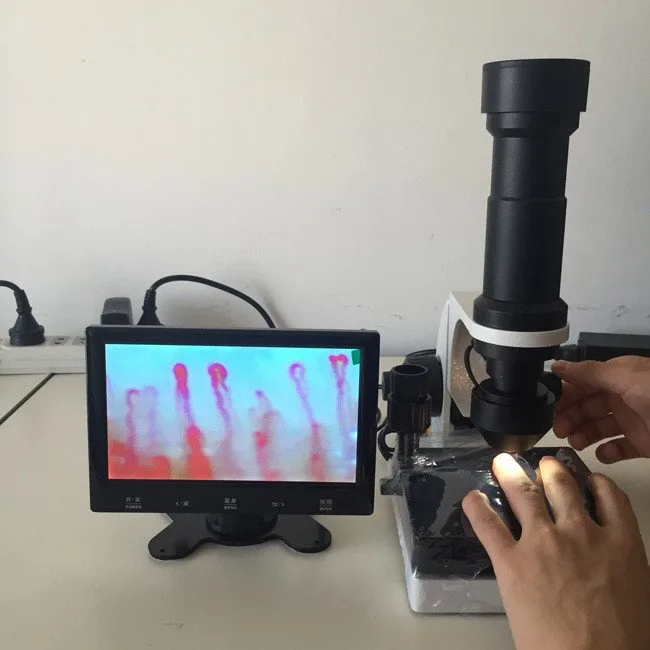
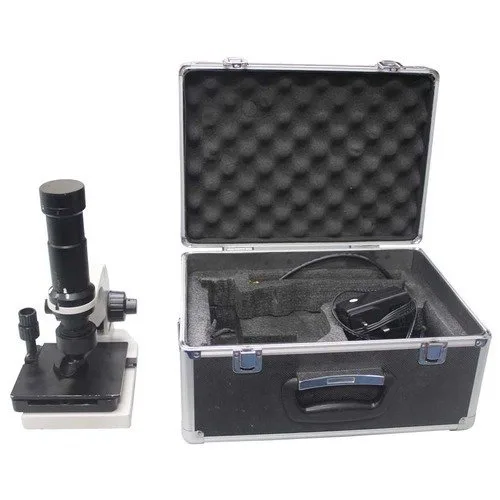
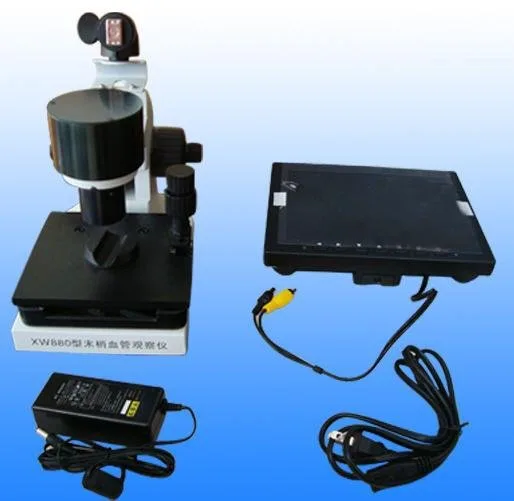
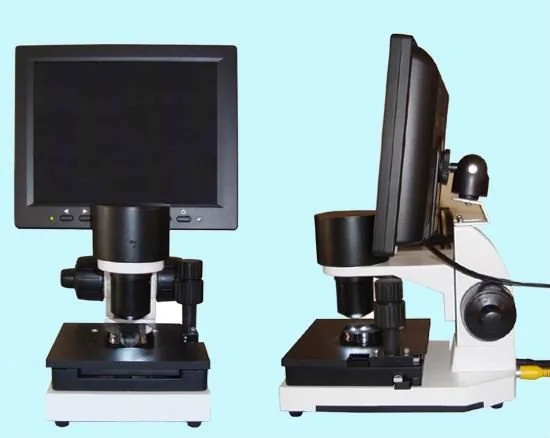
Our MKXW880 nailfold comparable provider imaging system illustrates the practical trade-offs we recommend. It uses a 5X achromatic objective, provides a declared working distance of 25 mm, a monocular drawtube and cold LED illumination. The device is manually focused and its declared magnification times are listed as 680/1200, with a general magnification value of 10X and 12V power input. These characteristics together aim to deliver a usable field of view for routine nailfold observation while keeping the optical head far enough from the finger to permit a finger rest and consistent capture geometry; they also support straightforward digital capture via the monocular camera port. (For full product details see our product page.)
Model
Key optics
Working distance
Illumination
MKXW880
5X achromatic objective; declared magnification times 680/1200; magnification 10X
25 mm
cold LED
Accessories that improve image quality: finger rests, immersion oil, stands and anti‑vibration mounts
Useful accessories to standardize capture and reduce artefacts:
Low‑profile finger rest with lateral indexing to reproduce the same nail orientation.
Small amounts of immersion oil or cedar oil (our product documentation suggests a few drops) to lower skin scatter—document your clinic protocol and use the same fluid each time.
Stable stands or anti‑vibration pads for the optical head in rooms with foot traffic or adjacent equipment.
Disposable finger pads and lens covers to simplify cleaning between patients.
Common setup mistakes that reduce image clarity and how to avoid them
Applying too much pressure to the nailfold—this flattens capillaries. Use a relaxation protocol and a finger rest to avoid pressure artefact.
Inconsistent working distance—standardize a mechanical stop or index on the stand so the objective sits at the same gap for each capture.
Over‑reliance on digital zoom from low‑resolution sensors—prefer higher native sensor resolution or a higher‑quality objective.
Poor illumination settings—establish preset LED intensity steps for different skin tones and document them in your SOP.
Evidence and product references
We base our hardware guidance on the optical principles above and on the MAIKONG product parameters for the MKXW880, which declares a 5X achromatic objective, 25 mm working distance, monocular drawtube, cold LED illumination, manual focus and magnification values as listed by MAIKONG. See the MKXW880 product entry for the full specification and accessory options: MAIKONG nailfold comparable provider imaging system (product page).
Limitations and risks
Optical specifications declared by a manufacturer describe equipment behavior but do not substitute for clinical validation. Image interpretation must be performed by trained clinicians. The MKXW880 parameters listed here are company‑declared; we do not infer regulatory clearance beyond the product’s stated certifications. If your clinic requires a specific regulatory label, calibration certificate, or validated imaging protocol for clinical trials, obtain those documents prior to purchase and confirm suitability with your institution’s compliance team.
Practical capture checklist for a reproducible nailfold session
Room: stable temperature and low drafts; patient seated with hands at heart level.
Preparation: two drops of coupling oil on the nailfold if using immersion technique; clean finger after capture.
Positioning: finger rest set and indexed; working distance locked or guided to ~25 mm for routine imaging.
Imaging: start with coarse focus, refine using fine focus; use camera exposure presets or LED intensity steps.
Documentation: capture an overview frame and at least one higher‑detail frame for each inspected finger; note lighting and any immersion used.
Short FAQ (clinic questions we see most often)
Which magnification should I standardize on for follow‑up images?
Standardize on the optical configuration that gives consistent framing and repeatability—many clinics use a 5X achromatic objective with a camera that yields a detailed image once cropped, rather than changing objectives between visits.
Do I need immersion oil for all patients?
Not always. Immersion oil improves light transmission and reduces surface reflection, which helps with darker skin tones or thicker cuticles. Make it part of your written SOP so captures remain comparable.
Can I rely on handheld capture for serial documentation?
Handheld capture can work for screening, but for reproducible longitudinal documentation we recommend a stable stand and a finger rest to reduce variability and pressure artefacts.
Next step — configure a clinic system or request sample images
Article Disclaimer / Compliance Notice
This content is for educational, informational and product‑introduction purposes only. MAIKONG nail fold comparable provider equipment is intended for professional observation, imaging, documentation, training and research consistent with product labeling. Images and observations must be interpreted by trained professionals. Buyers must confirm applicable U.S. federal, state and institutional requirements before purchase. MAIKONG does not claim its products independently diagnose or treat disease beyond the product’s official labeling.
This content is provided for learning, information sharing and professional communication only. It is not medical advice and is not a basis for treatment or diagnosis. Confirm suitability, operation and purchasing requirements against the product manual, local regulations and qualified professional guidance.
If you want a clinic‑ready recommendation tailored to your patient mix (skin tones, typical contracture/hand mobility, throughput), request a configuration or sample capture images from us. Pricing is available on inquiry; lead time is typically 2–3 days for standard units. Contact us to request a quote, ask about OEM/ODM options, or arrange sample images: lucy@nail-fold-comparable provider or +86 13510907401. You can also review product details and accessories on our MKXW880 product page: nailfold comparable provider imaging system.